Recently I came across a project that taught me how to install, setup and configure CTFd. The aim of this project was to have a Platform where I would be able to host cybersecurity CTF Challenge’s.
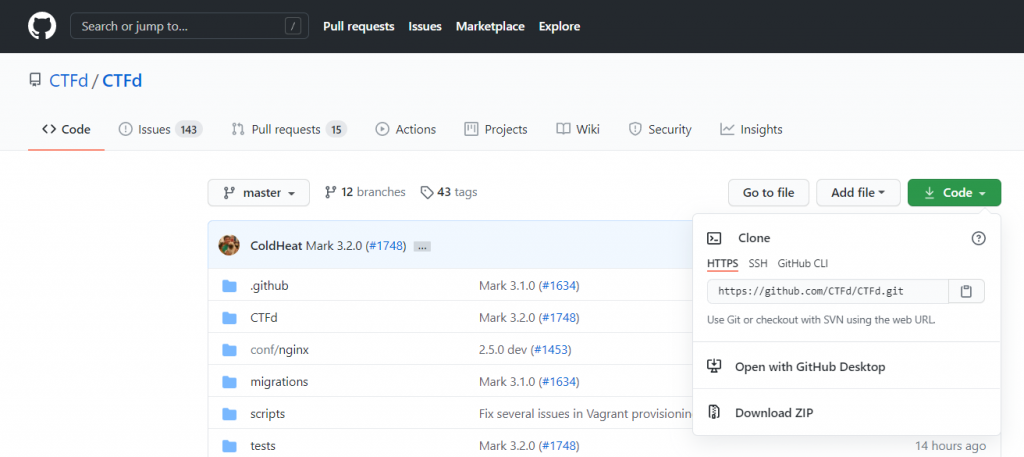
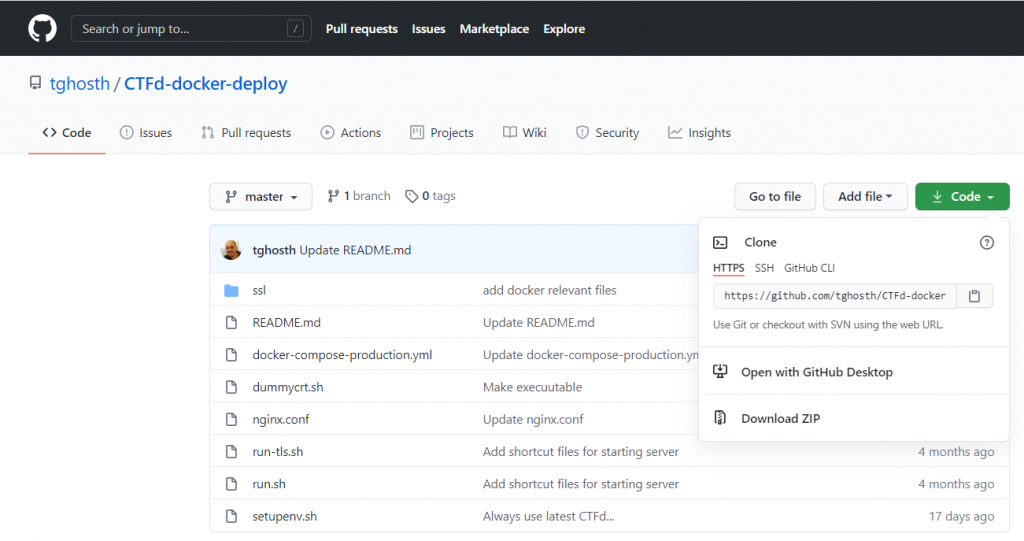
CTFd is an opensource Capture the Flag (CTF) framework designed for ease of use for both administrators and users. CTFd can be installed using either the source code or using docker and in this article we will focus on the use of docker. CTFd can be found in GitHub which is a software development platform. I started the journey by going to GitHub using the below link
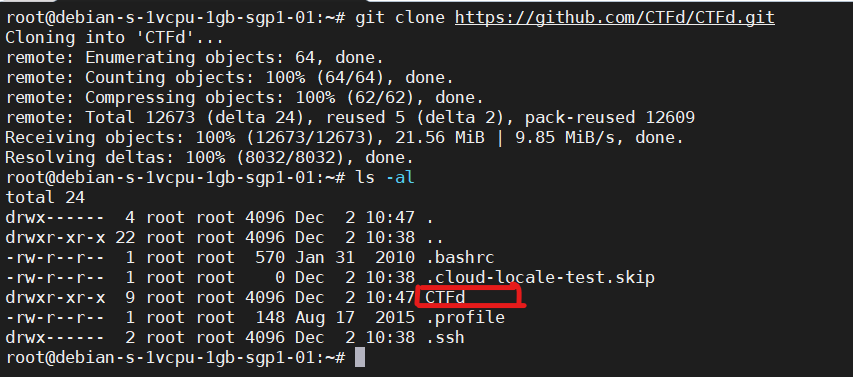
Then I copied the git URL under code and pasted it on my server by typing the following command
git clone https://github.com/CTFd/CTFd.git
Note: If your server is new you will need to install git by typing “apt-get install git”
INSTALLING DOCKER
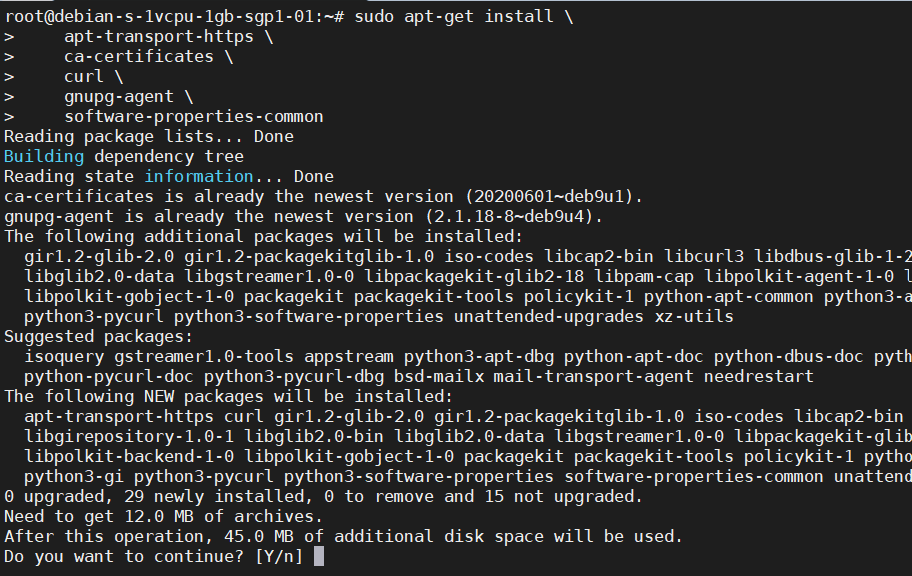
The Next step was to install docker in the server, the first step is to update the apt package index and install packages to allow apt to use a repository over HTTPS, this can be done using the below codes:
First, we start by updating the server by typing the following code, sudo apt-get update
Then after updating your server next you type in the following codes
sudo apt-get install \
apt-transport-https \
ca-certificates \
curl \
gnupg-agent \
software-properties-common
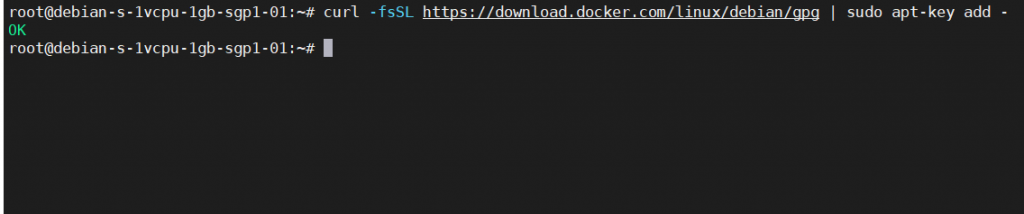
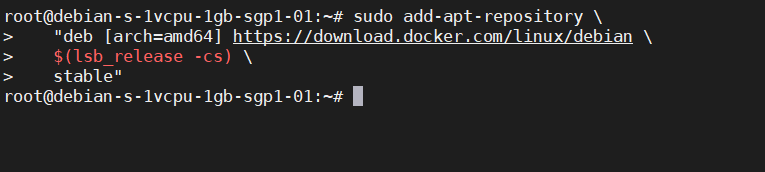
after installing packages to allow apt to use a repository over HTTPS we then proceed to add Docker’s official GPG key by typing the following commands:
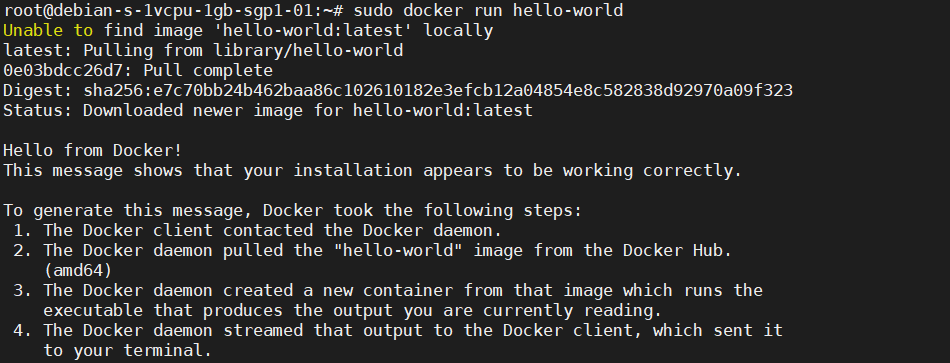
Since CTFd is running in docker we will need to install the latest version of Docker Engine and container, this can be achieved by updating first the server then run the docker engine commands to install it.
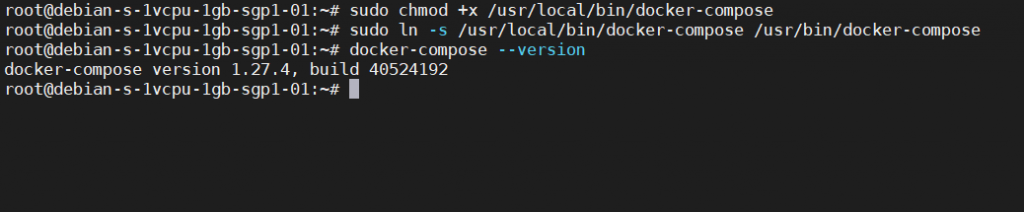
and finally finish with testing the installation by checking the docker-compose version using the below command
docker-compose –version
A docker-compose version will be displayed on your screen if everything was installed correctly as shown on the above image.
CHANGING USER PERMISSION
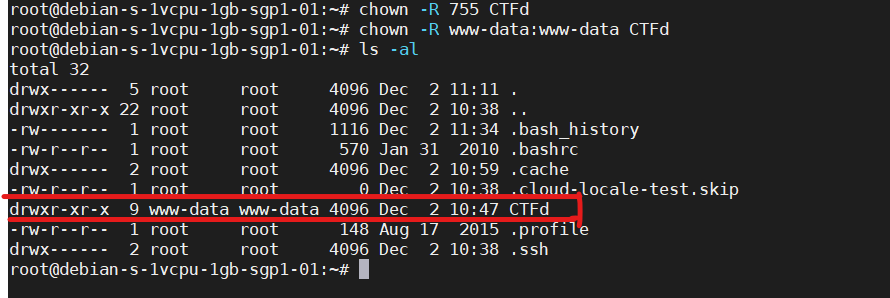
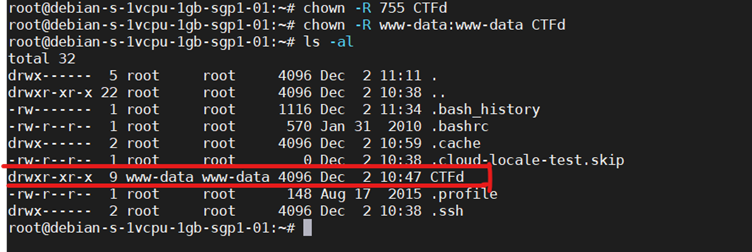
The next step would be to change permission of the owner of CTFd from root to www-data and give it less privileges due to security reasons. This can be achieved by typing the following commands,
chown -R 755 CTFd
chown -R www-data:www-data CTFd
Before changing user permission.
After changing user permission.
INSTALLING SSL CERTIFICATE (Letsencrypt)
The next step is to install the SSL certificate from Letsencrypt, in this article I will not be showing the procedures but just follow the steps in the below link
My assumption is your using Digital Ocean as your cloud service provider if not just google “how to install Letsencrypt in my server”
CONFIGURING SSL FOR CTFd
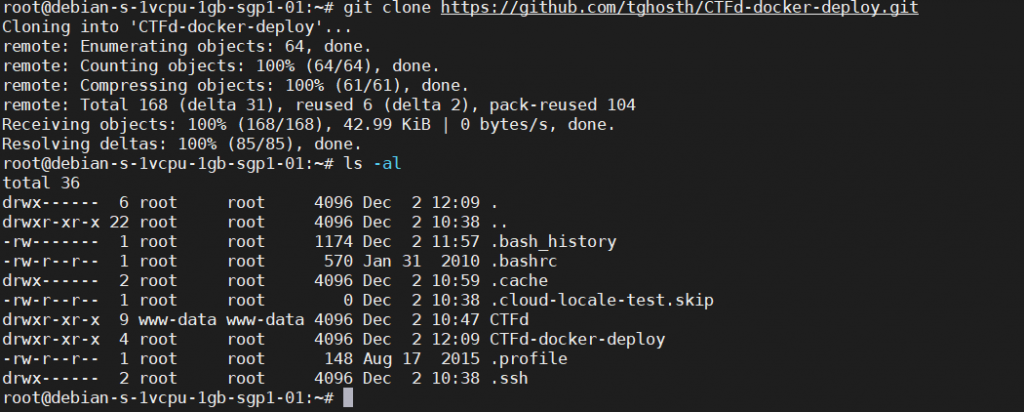
After installing your SSL certificate, the first step is to clone the SSL repository from GitHub by going to the following Github page by clicking the link below
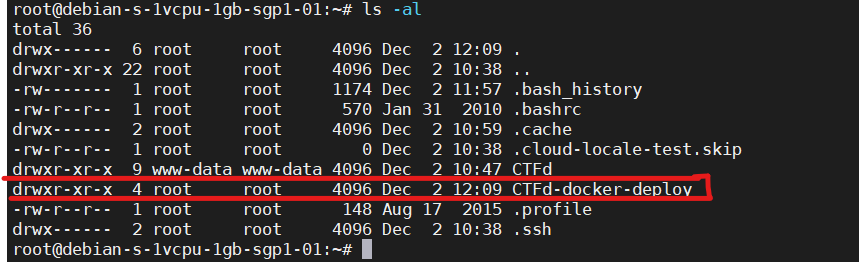
After the installation when you look at the permission the owner of the file is root that needs to be changed also.
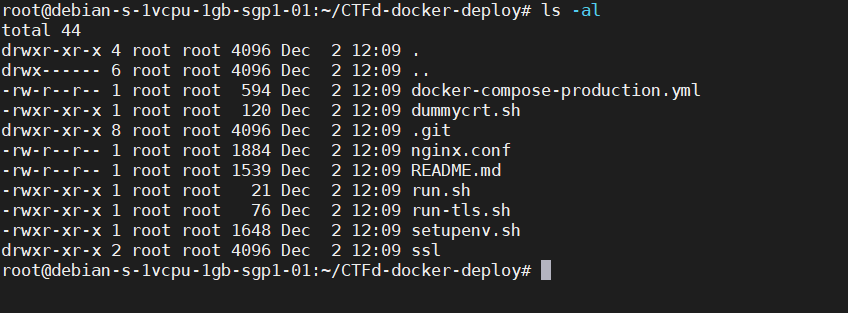
After changing the permission change directory to the file called CTFd-docker-deploy.
In this file the following changes must be made
In the file docker-compose-production.yml you need to make the following changed
Using your favourite text editor just edit in the 8th line hostname from local host to your desired domain name.
Note: the name you choose must be the same as of your server
2. Copy your SSL certificate (Letsencrypt) and save it in the s folder named SSL
When you install Letsencrypt you can see your SSL certificate in /etc/Letsencrypt/live/name_of_your_SSL/
you need to copy the SSL certificate in /etc/Letsencrypt/live/name_of_your_ssl/
named fullchain.pem and save it in CTFd-docker-deploy/ssl as ctfd.crt
Then you need to copy the SSL certificate in /etc/Letsencrypt/live/name_of_your_ssl/ named privkey.pem and save it in CTFd-docker-deploy/ssl as ctfd.key
The final step is to move everything in the CTFd-docker-deploy to CTFD
RUNNING CTFD
Finally change directory to CTFd after copying the contents of CTFd-docker-deploy into CTFd and then run the following commands
docker-compose -f docker-compose.yml -f docker-compose-production.yml up -d
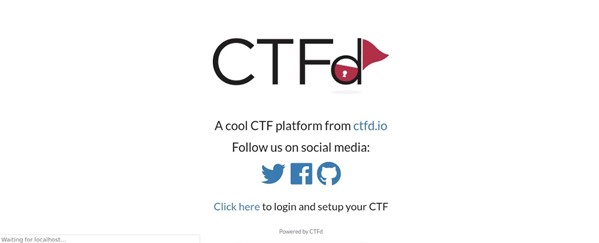
to access your CTFd just visit the domain name you had given your CTFd and a new page should load.
CUSTOMIZING CTFd TEMPLATE/THEME
CTFd by default web page looks as the below
There were two things that I or you would like to change may include follows
Favicon – CTFd uses its emblem which some guys would like to change and use their own.
Footer – CTFd comes with its default footer written “powered by CTFd” which you could either delete the footer or change the wordings.
Home page – which can be changed by logging in to the site, click on admin and then click on pages that will allow you to create your own custom-made home page.
To achieve all these, you can follow the following steps, this article will focus to solve problem 1 and 2.
EDITING CTFd FAVICON
On you server change directory to CTFd/CTFd/themes. CTFd is made up of two parts where the first part the core, core is basically the whole CTFd platform and the second part is the admin, admin is the admin dashboard.
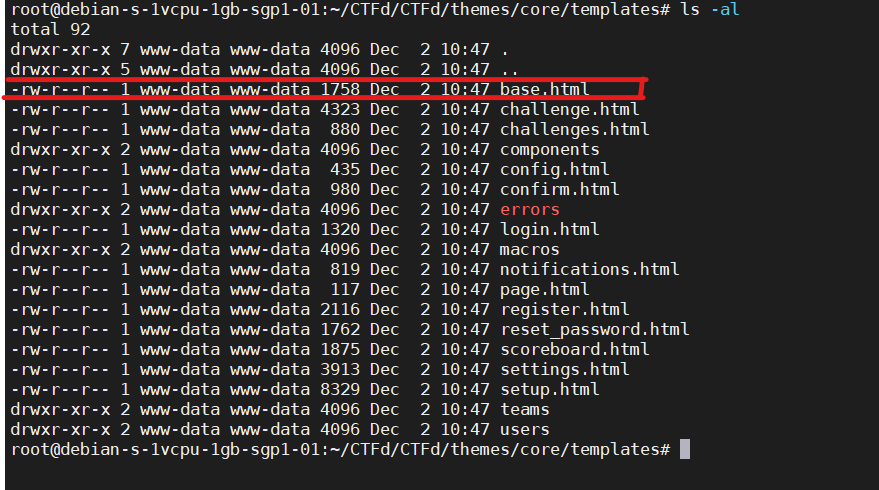
For the home page footer we need to change directory from CTFd/CTFd/themes to core/templates/ and using your favourite text editor you edit the base.html file.
When you open the base.html file on the first few codes of line you will see something similar as below,
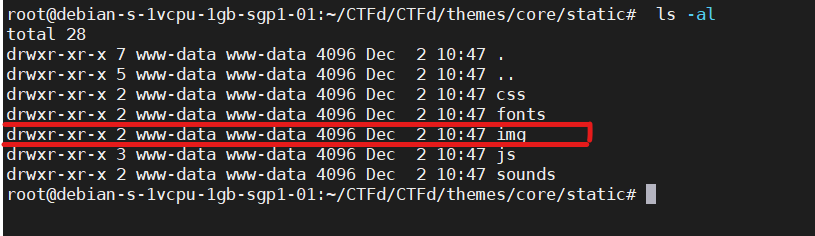
On the part which is drawn red is the part where you change the path of CTFd image and direct it to your image, all images in CTFd are stored in the following path CTFd/CTFd/themes/core/static/img
When you cd to img folder you will see the CTFd favicon as shown below
So, you need to upload your own favicon in the img folder and then in CTFd/CTFd/themes/core/templates/base.html change the name only to your favicon name.
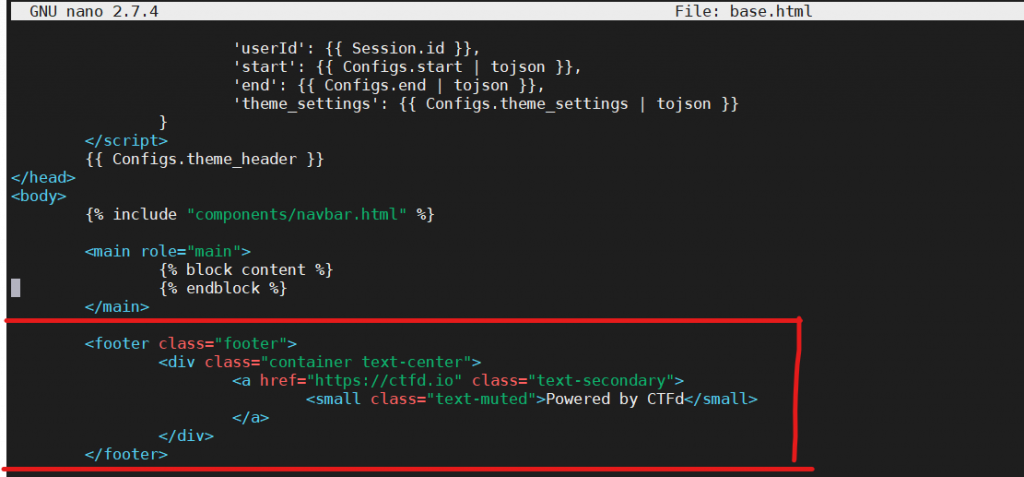
EDITING CTFd FOOTER
To change the footer in the homepage all you must do is in the same file base.html which can be found in CTFd/CTFd/themes/core/templates/ just remove or rename this part in red as shown in the pic below.
Click on the link below to download PDF file of the article